Tuesday, November 30, 2021

Squeaky pastel rainbow toy


Patterns are free for personal use. I did not test this pattern, it is free partly because of that. Other reasons it is free: It is not my Intellectual Property, this one was inspired by the Squeakoid gyroid in Animal Crossing, created by and owned by Nintendo. There may be some typos. This is fan art. I do not sell these or make money from this. If you have questions, hit me up on twitter or instagram @andreacrochets.

Do not sell anything made from my patterns unless for charity/non-profit purposes.


NOTE: I initially made this pattern as a rough free pattern on a video on tiktok

Link to rough Tiktok pattern

Materials

  • F hook 3.75 mm (that's what I used but you can use whatever you like

  • Red heart brand acrylic yarn in various colors (that's what I used but you can use what you like)

  • Stuffing  

  • Optional - squeaker, safety eyes


Head/body 

  • Start with ch 2 or magic ring (preference is yours)

  • 6 sc [6]

  • Inc around [12]

  • *1 sc, inc* around [18]

  • *2 sc, inc* around [24]

  • *3 sc, inc* around [30]

  • *4 sc, inc* around [36] 

    NOTE: you can make the body wider or thinner depending on how many increase rounds you make, so you can try and make different kinds of gyroids with this pattern if you wish.

  • Work even for 9 rounds

    NOTE: again, you can make taller or shorter gyroids if you add or decrease rounds here 

  • *dec, 4sc* around [30]

  • Work even for 2 rounds [30]

  • Working BACK LOOP ONLY for this round only: *dec, 3sc* around [24]

  • Back to working both loops: *dec, 2sc* [18]

  • *dec, sc* [12]

  • *dec around [6] bind off and leave a tail to sew shut. This part is going to be covered by the platform anyway so it does not matter if you close it perfect, but I did the drawstring method


Skirt

  • Attach body color yarn to the front loop ridge left before. *inc, 4sc* around for one round [36]

  • Next round just work even [36]

  • Optional next round just work even. [36] If you are making another kind of gyroid you can increase here again for a wider skirt 


Platform

  • Sc 6 [6]

  • Inc around [12]

  • *1sc, inc* around [18]

  • *2 sc, inc* around [24]

  • Back Loop Only this round: work even [24]

  • Both loops now: work even for 2 rounds [24] bind off leaving a long tail. 

  • You can put a small squeaker in here if you wish but I just put stuffing in it because i spent 5 hours making it and did not want my dog to destroy it


Hands (make 2)

  • With color A sc 6 [6]

  • *sc, inc* around [9], change color to color B

  • Work 3-5 rounds more in color B depending how long you want your arms. (I did 3 rounds for mine, but the gyroid moves and dances, so longer arms might look cuter). Bind off a long tail and you will sew this to body somewhere above the skirt 

    NOTE: I would do arms differently for a new one, I might do, 6 with color A and then increase 1 stitch, so 7 stitches with color A, then change to color B and do another increase so it is more gradual up to 12 stitches. I only had time to make the gyroid pictured above, so i did not get time to test more arms out


Head frills

  • Sc 6 [6]

  • *1sc, inc* around [9]

  • Work even [9]

  • Work even [9]

  • *dec,sc* around [6]

  • Work even for 4 rounds [6]

    NOTE: as I said in the tiktok, if I made this again I would try just doing 6 rounds of 6 single crochets instead. I did not like how they ended up being shaped, but this is how i did mine for the one in the picture/tiktok 


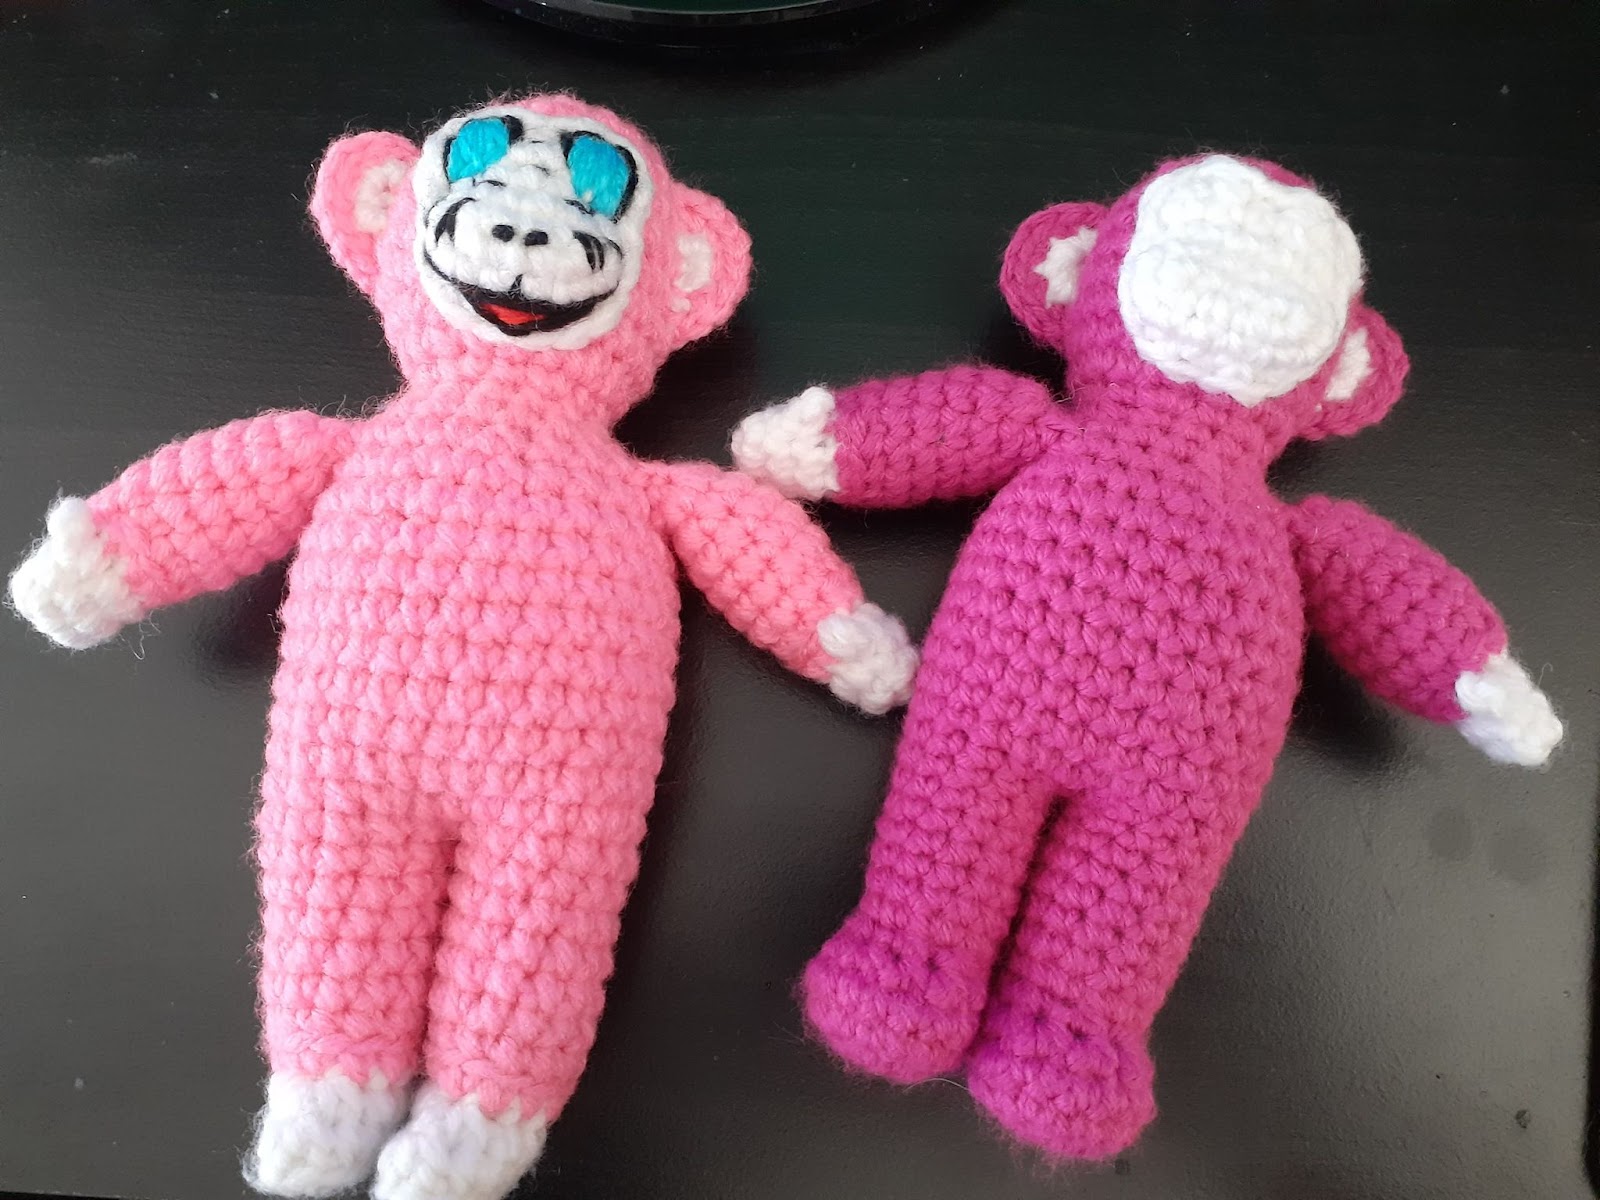
    Finish this up by putting the face on. I think I made my face a little too big on mine. I have not had time to redo it. It looks a lot cuter with safety eyes and a felt mouth.

    I would love to see if you make anything with this pattern! please tag me if you make anything!


Thursday, November 4, 2021

Monkey Cat friend


Patterns are free for personal use. I did not test this pattern, it is free partly because of that. There may be some typos. If you have questions, hit me up on twitter or instagram @andreacrochets.

Do not sell anything made from my patterns unless for charity/non-profit purposes. You can make items as a gift

This Pattern was inspired by Gerard Way's Alien friend Lola @lolaplusg and i got permission to share this pattern thanks to my pal @forevermore714 on instagram THANK YOU


E hook (you can also go up a size or two for a bigger doll)

(Note: yarn size will also affect the size of your doll)

White yarn

Pink yarn


Left shows a doll with shoes, right is the doll with barefoot feet


Left is Red Heart brand yarn, Right is Crafter’s Square yarn from dollar tree, you can see the size and color difference


You can choose what style feet you want if you want shoes, just do the below, if you want barefoot feet, skip to the next part:

-------------------------------------------------------------------------------------------------------------------------------


Shoe Feet (make 2) (NOTE: this is for shoes variant, if you want a barefoot friend, skip to the other feet option below)

  • With white, Ch 7

  • Sc in second ch from hook, 1 sc in each of next 4 chs, 3 sc in last chain, 4 sc in opposite side of chain, 2 sc in last ch. (14 sc)

  • In back loop only for this round: sc in next 5 st, sc 3 together, sc 6 (12)

  • Both loops now: 4 sc, sc 3 together, sc 5 (10)


Change to hot pink


Shoe Legs (continued from shoe feet)

  • Front loop only for this round only: *2 sc in first st, sc in next 4 sts* repeat once (12)

  • Back loop only for this round only: 1 sc in each st around (12)

  • 1 sc in each st for 6 rounds (12) (you can add 2-4 rounds here for longer legs)

  • For first leg only, finish off and snip yarn.

-------------------------------------------------------------------------------------------------------------------------------

Barefoot Feet (make 2) (Note: this is for barefoot feet, you don’t need to make shoes with this one)

  • With hot pink ch 2 (or do a magic ring)

  • 6 sc in second ch from hook or (6 sc in magic ring)

  • 2 sc in each st around (12)

  • *1 sc, 1 inc* around (18)

  • 1 sc in each st around (18)

  • Sc 3, 6 decreases in a row, 3 sc(12)

  • Sc 2, 3 decreases in a row, 4 sc (9)

  • Sc 2, 3 increases in a row, 4 sc (12)

Barefoot Legs

  • 1 sc in each st for 6 rounds (12) (you can add 2-4 rounds here for longer legs)

  • For first leg only, finish off and snip yarn.

-------------------------------------------------------------------------------------------------------------------------------

JOINING THE LEGS (Note: this is the same for both shoe legs and barefoot legs)


The second leg will become the left leg

  • Sc in 11 sts, (foot will be pointing forward), grab the other leg and make sure feet are pointing the same way, sc into 11 sts of next leg, pull up a loop in next st and the stitch you did the first st in the second leg, single crochet them together (12 on right leg), pull up a loop in 11th st and 12th st of the left leg, sc together (24 stitches total)


CONTINUING BODY

  • *Inc, 5 sc* around (28)

  • 1 sc in each st around for 8 rounds (28) (NOTE: you can add 2-4 more rounds of 28 sts to make the torso longer if you so desire)

  • *1 dec, 5 sc* around (24)

  • *1 dec, 4 sc* around (20)

  • (NOTE: the decreases in the next rounds will have to be where the shoulders are, if they don’t fall on the shoulder area, adjust accordingly)

  • 1 sc in next 4 sts, 2 dec, 1 sc in next 6 sts, 2 dec, 1 sc in next 2 sts. (16)

  • 1 sc in next 3 sts, 2 dec, 1 sc in next 4 sts, 2 dec, 1 sc (12)

NECK


  • *inc, 1 sc* around (18)

  • *inc, 2 sc* around (24)

  • 1 sc in each st around for 6 rounds (24)

  • *dec, 2 sc* around (18)

  • *dec, 1 sc* around (12)

  • *dec* around (6) 

  • Finish off and leave a long tail. Weave tail thru the front loop of each st and pull drawstring


Hands (make 2 with white)

  • Chain 4

  • 1 sc in second ch from hook and next st, 3 sc in last st, 1 sc in next st, 2 sc in same st as first (8)

  • 1 sc in each st around (8)

  • Ch 3, sl st in second ch from hook and next ch, sc in each st of round (8)

  • Change to hot pink

Arms (continuation of hands)

  • In front loop only for this round only: *inc, 1 sc* around (12)

  • In back loop only for this round only: 1 sc in each st around (12)

  • 1 sc in each st for 5 rounds (12) (you can add 2-4 rounds here for longer arms)

  • *dec, 1 sc in next 4 sts* repeat once (10)

  • Finish off and leave a long tail to sew arms to body below shoulder decreases


Inner Ears (make 2)

  • With white, Ch 3

  • 2 sc in second ch from hook, 2 sc in next st (4)

  • finish off


Outer ears (make 2)

  • With hot pink work same as inner ear, but do not finish off, instead ch 1 and turn.

  • Place the white inner ear back to back (wrong side to wrong side) with pink and work through both layers, 2 sc in each st around (8)

  • Finish off and leave a long tail for sewing to head


Faceplate 

  • With white, ch 5

  • Sc in second ch from hook and next 2 chains, 3 sc in last ch, 2 sc in the opposite side of chain, 2 sc in the last (10)

  • Inc, sc in next 2 sts, inc in next 3 sts, sc in next 2 sts, inc in next 2 sts (16)

  • 1 sc in next 7 sts, ch 1, turn (7) 

  • We are doing rows instead of rounds now

  • 1 sc in next 6 sts, ch 1, turn (6)

  • 1 sc, (1 dc,1 hdc) in next st, sl st in next 2 sts, (1 hdc, 1 dc) in next st, 1 sc in last st (8)

  • Do not finish off, we are going to work down the side of the face

  • Sl st 5 down the side of the face, sc 5 along bottom of face, sl st 6 up the right side of the face, finish off and leave a long tail to sew to front of head


Embroider face details.